Wednesday, November 25, 2009

Coffee Chocolate Chip Banana Bread (from Baking Bites) + Hate-On for Campus Food Services


Rant: Do you know how much a slice of “X” bread (banana, zuchinni, carrot, cinnamon, poppyseed, etc) costs on campus?!? Yesterday, I didn’t have time to prepare anything to take with me to school (this semester my Mondays include an aquafit class at 6:45am and then classes straight from 11 through 3:30), so I decided to make my breakfast and lunch purchases on campus. Yes, I knew it wasn’t going to be cheap, but in this case I was substituting money for time (I was busy Sunday night, and there is no way I’d be getting up earlier than 5am to make my food for the day). My purchases included: breakfast – milk and bagel with cream cheese (one of the cheaper choices around, about $5 total) and then for lunch I bought a black bean and artichoke salad (which I ended up throwing out because it tasted like someone dropped it in dirt and then scooped it back into the little plastic container – blech!) and a fruit salad (which was soft, but still edible). I figured I wanted more carbs in my lunch so I quickly ran to the food court between classes (I had 10 minutes and this was extremely difficult). I decided to buy a slice of (whatever) bread. I checked the price at 3 places – which was only possible because they were very close to each other. It costs between $2.25 and $2.75 a slice – A SLICE!!!!!! I COULD BUY A WHOLE LOAF FOR THE PRICE OF 2 SLICES AT THE GROCERY STORE!!!! Now I’d understand if it was some fancy sit-down coffee house where you pay for the service, atmosphere, etc., but this is on CAMPUS. What ever happened to affordability for students?? I know it’s only two bucks, but what if you lived in a residence with no kitchen and HAVE to buy food on campus (residence meal plan – it exists, I’m not making this up). That is completely unfair and total gouging of students. I could probably rant for a half hour about how Food Services rips students off and offers choices that are completely un-nutritional, but that will probably serve no purpose other than making me mad.

ANYWAY, I bought the stupid “X” loaf because I was hungry (and I’m glad I did despite the price because I ended up having to throw away that salad). So today I decided that the system will take advantage of me no more!! I am going to make my own loaves and freeze individual slices just for days like this! No more being at the mercy of the evil food court gods! End Rant.

Okay so here it is, I stumbled upon a recipe on Baking Bites that really piqued my interest. It uses the new Starbucks Via as an ingredient, and as an attempt for me to kick my (expensive) “Skinny Vanilla” addiction, I’ve developed a new (cheaper) “Via Italian Roast” addiction… so I have lots of the stuff lying around.

You can follow the recipe found here. I'm sorry about the lack of step-by-step pictures, but by the time I remembered that I wanted to blog about this, my loaf was already in the oven. (oops!) Also, I didn't read the post too carefully, but I think it was meant to make 2 mini loaves. I left my (single) loaf in for 50 mins at which point I thought it was done - I even did the toothpick test; but it seems I should've made multiple punctures because the inside on the other side of the loaf didn't turn out as nicely. I also couldn't put it back in because a) it was already cut and I don't know if you're supposed to do that (lol) and b) the outside was starting to get a little darker than my liking, so any more time I think the crust might have burned.

Next time, I think I'm going to bake the loaf for at least an hour at 300 or 325 so the outside doesn't brown as fast.

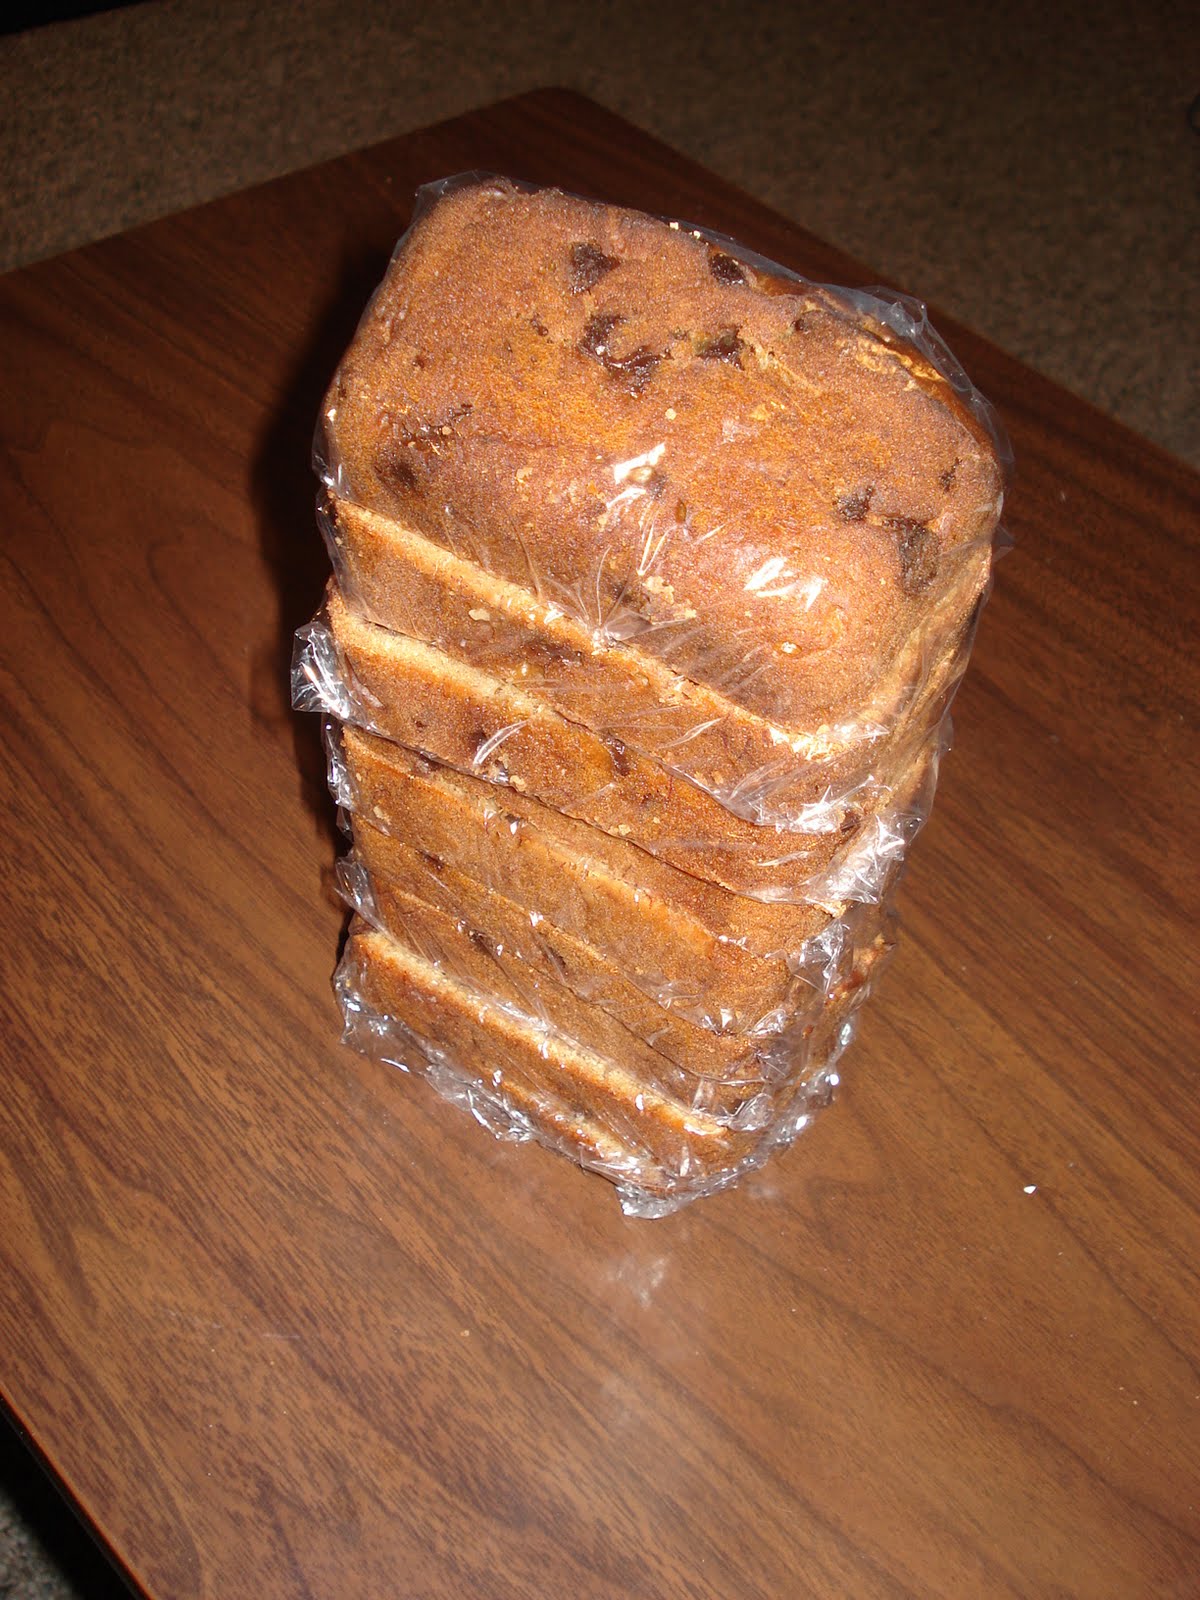
I haven't tried any yet, but boyfriend says it's good (he might just be being nice, though). I'll let you know what I think when I've had a chance to try some. All the pieces are wrapped and in the freezer now.


P.S. Just FYI, finals are coming and I may not have a chance to post here again for a little while. If I can I will, but otherwise, you may not hear from me until after Dec 15. I'm alive, just stressed. Don't worry.

Tuesday, November 17, 2009

Bibimbap!

So I mentioned last time that the minty cupcake day was a day of firsts. I forgot to explain that. First, I’ve never made ganache before. That was my first try. Turned out pretty well I think. The only thing is that I didn’t know how much I would actually need, so now I have a whole bunch of ganache left over in my fridge and I have no idea what to do with it. Ideas anyone? (I was thinking of adding some chocolate to the mixture to try to get a firmer consistency and then dipping mint chocolate biscuits in it. Good idea? Yes? No? I’m not the expert)


My other first had to do with the entrée of the night. It was my first attempt at Korean food. And I mean, like, complete first attempt. I had never even (seen) Korean food before. I became vegetarian about four years ago and before that, I never had the opportunity to try it. I feel like that’s a little bit of a strike against me, because I guess I don’t actually know what it’s supposed to taste like, so maybe my attempt was a complete failure… but it tasted pretty good to me?


The dish I made was called bibimbap, which, for all you newbies out there like me, means “mixed rice” (see wikipedia entry for more info). So I made this again today and I think it took me even longer to make than last time. This time I did all my cutting prep work beforehand, but then I ended up just waiting for certain things to cook while I stood there doing nothing, so I think it might’ve been more efficient to cut on the go, like I did last time.


Anyway, I used the recipe from this cute blog. Maangchi is a really cute Korean Canadian lady living in New York, I stumbled upon her blog through my many food blog reading sessions (instead of doing homework). Her site is really awesome because she even does Youtube videos for her recipes, so you can see how it’s done! She’s also got some Korean cooking books published, so if you’re an on-paper type person, you can check those out too.


So here’s my “vegetarianized” version of Maangchi’s Bibimbap:


First I put my rice to cook.


I used sushi rice because I thought it would fit with the Asian theme. I have no idea if it’s actually the type of rice that is supposed to be used for this dish. I thought it worked out okay though.

To cook the rice, I just did so according to the package. I used about 2 cups uncooked (makes about 4 servings). Then afterwards, I sprinkled in some rice vinegar and sugar. (I didn’t measure, I’m sorry – If you’ve ever had sushi, I made it to taste pretty similar to the rice used there).

Then, I cooked the bean sprouts.


I did this according to Maangchi – 20 mins in salty water. Then, when they are done, mix in with a chopped clove of garlic, salt and sesame oil.


Next was spinach.


Just plop it in to boiling water for about a min. Then drain and squeeze out excess water. Mix with a chopped clove of garlic, soy sauce (1 tsp) and sesame oil.


To cook the zucchini, I just chopped it up into strips, then sprinkled some salt over top and let it sit for a few mins.


Then I sautéed the zucchini in olive oil until the pieces became translucent.


Shitake mushrooms


– these are a little hard to find. They can be either fresh or dried (if they’re dried, you’ll have to reconstitute them). I actually found them at Safeway (I don’t usually shop there) and they were cheaper there than the dried ones at the local Asian market (I sent my boyfriend out on a mushroom run, but the ones he found were a little overpriced we decided). For my “mixed rice” I used fresh mushies. I just removed their stems and sliced the tops into thin pieces. Then in the frying pan, I sautéed them with 2 tsp soy sauce, 1 tsp sugar and a little bit of sesame oil. These actually turned out to be my favorite part of this dish, they had a subtle sweet flavour. Yummy!


Beef.


For this part of the dish I used Yves Ground Round. This stuff is pretty good because it doesn’t really taste like anything, so you can flavour it however you want (but I definitely DO NOT recommend eating as is! haha). I mixed one package of ground round with 4 cloves of garlic, 1 tbsp of soy sauce and ½ tbsp of sugar and sesame oil and black pepper to taste. I sautéed all of this together until the soy crumbles were warm and the flavours of the different ingredients mixed together.


Platter so far (not bad, eh?)


Carrots – this is the easy part.


Just julienne and sautee for a little bit. I do mine until the pieces just start to get soft


And there you have it, the bibimbap platter!


I skipped making kosari. I couldn’t find it in my reg. grocery store plus I’ve read funny things about it being unhealthy. Either way, it’s not on my plate, but I would definitely try it just to taste in the future. I’m just like that.


Okay, last step. Fry some eggs – sunnyside up! Then mix them into the rice. I made 3 this time… but one disappeared in my transfer over.


makes:

Serve!


You can pair with either hot pepper paste (which you can buy at your local Asian market) or Yangnyeomjang sauce (recipe on the same page as the bibimbap on Maangchi’s blog).


Verdict:

I like all the veggies this dish encorporates. I don’t really cook with a lot of these on a regular basis. It seems pretty healthy, and if you’re a college student, this recipe makes 4 servings, so there are lots of leftovers for lunch. The only downside is that this recipe takes a while because there are so many little parts being made separately, but I think the time can be minimized once you’ve tried making it a few times and have picked up the groove.


Oh yeah, and it’s really f*$%ing good.


Just sayin’

:)


Thursday, November 12, 2009

Nuclear Cupcakes... a.k.a Mint Chocolate Chip Cupcakes with Dark Chocolate Ganache

Today I went a little bit nuts in the kitchen. It was definitely a day of firsts for me. I don’t know if it’s because I felt guilty for not blogging for the last couple weeks, or if it was due to complete kitchen withdrawal, but I was whipping things up right and left. Well, not exactly whipping. More like slowly trying to figure out and running back and forth between my computer and counter. Haha.

Sorry I haven’t been keeping this up for the last little bit. My life has just had a chance to calm down from the hectic frenzy of college midterms. I don’t know if any of you have taken any business courses, but they leave precious little time for anything else. Have you ever gone into an exam, trying to remember all the little details from studying the days before, but just know you won’t remember it all? – I’m sure some of you can relate. I already know I got one long answer calculation wrong because I forgot the stupid half-year tax rule. Yes, I said it, it’s STUPID. The only reason it’s probably there is so that I can be tested on it and NOT remember to include it in my calculation. Okay, maybe there’s actually a good reason for it, but I’m just bitter now.

Okay, enough of my rant. This week I’m posting these awesome lil’ things:


Mint Chocolate Chip Cupcakes Dipped in Dark Chocolate Ganache, cute huh?

I a-little-bit cheated on these. I had a package of white cake mix left over from a watermelon cake that I made and I figured this would be a fun way to use it up!

What you’ll need:

Cupcakes
One package of white cake mix and whatever it calls for (mine needed to mix with 1 ¼ cup of cold water and 2 egg whites)
Peppermint extract
Green food colouring
Mini chocolate chips (semisweet)
Cupcake papers (I bought cute green ones!)


Ganache
175ml whipping cream
170g 70% dark chocolate

To Do (Cupcakes):
1. Mix the cake mix as per directions on the package.


2. Add peppermint extract to taste (I put in about 1 ¼ tsp – this tastes pretty good!)
3. Add a few drops of green food colouring to make it look minty!

Okay, maybe it doesn't look that minty in the picture, but i swear it is! For some reason my camera doesn't want to pick up green :(

4. Stir in chocolate chips.


I put in about a cup of ‘em. I feel like maybe a half to ¾ of a cup might’ve been good though, with the ganache and all.


5. Line the pan with the cupcake papers and pour the batter in. Don’t fill them more than ¾ of the way up. The lil’ cakes will grow!


(This is me peaking into the oven before the guys are done. I'm a little impatient like that.)

(P.S. Look how GREEN they are! hehe)

And... TA DA!! Naked cupcakes!


This is why I called them nuclear! They look like something from a comic book with those green glowing crevices. hehe

To Do (Ganache):
1. Chop up the chocolate.


Try to avoid touching it, or it will melt on you! Then put the pieces in a mixing bowl – metal ones are the best


2. Heat the cream in a saucepan till it’s hot
3. Slowly pour the hot cream over the chocolate pieces and stir. Incorporate all the cream and keep stirring until the mixture is smooth. I used a whisk to do this.


4. Let the ganache cool for a bit (but make sure it’s still liquid – maybe for like a few minutes)
5. Dip the cupcakes into the ganache and let stand to cool and set


P.S. Check out the insides:


I went a lil' savage on this one :)

These turned out pretty yum. I thought all the chocolate might’ve been too much but they turned out pretty decent. Next time I wouldn’t add as many chocolate chips though (like I mentioned above). The 70% cocoa dark chocolate is pretty rich.

One question though, if any of you turn out to be baking pros – my ganache cooled with a few tiny bubbles in it. The cupcakes still look cute, but does anyone know a way to get rid of ‘em? (I’m a little bit of a perfectionist type) Suggestions anybody?